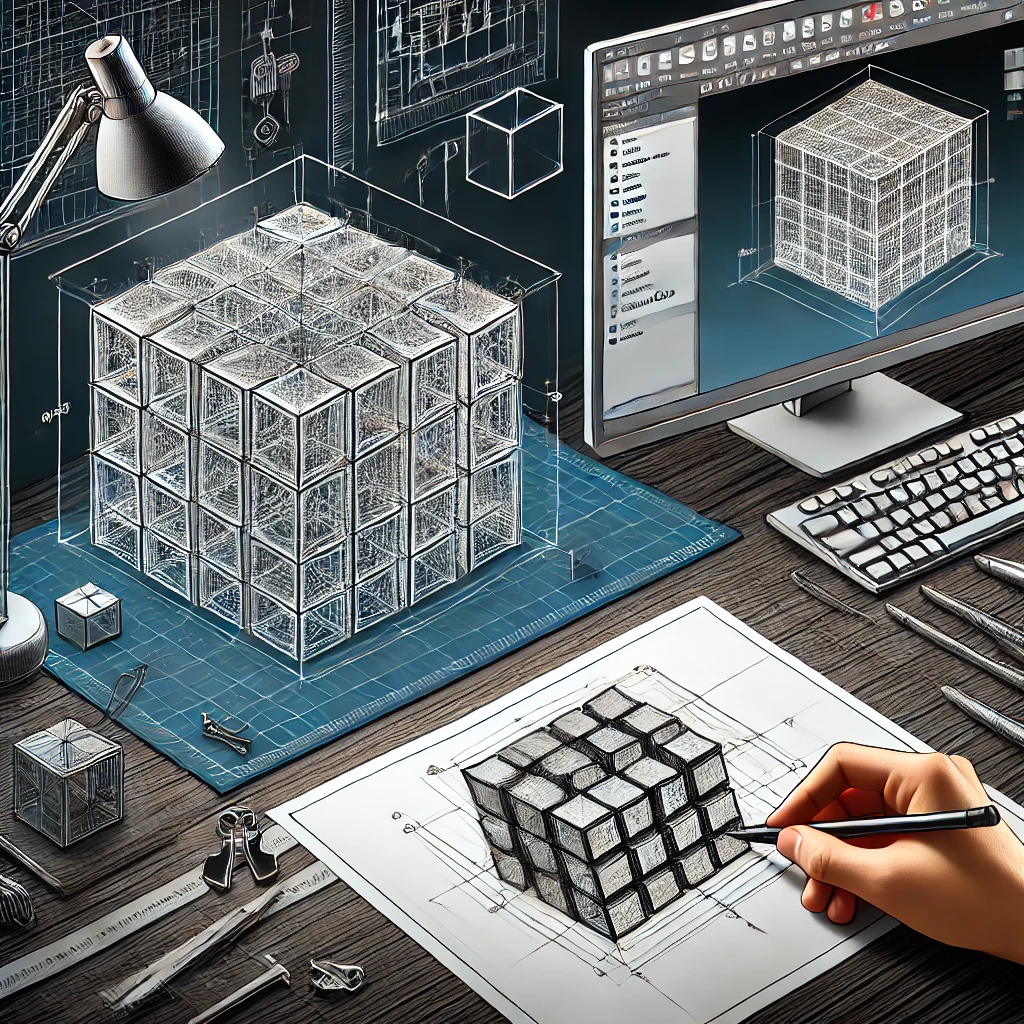
 Transitioning from 2D drawings to 3D models is an essential skill for drafters, engineers, and designers using AutoCAD and NanoCAD. While both programs provide powerful tools for 3D modeling, the best method is to start with precise 2D geometry before constructing a 3D object. This approach ensures accuracy, efficiency, and ease of modification. Below is a comprehensive guide on how to implement this workflow.
Why Start with 2D Before 3D?
Before diving into 3D modeling, it’s important to understand why beginning with 2D shapes is beneficial:
- Precision & Accuracy – 2D profiles allow for exact dimensions and alignments.
- Easier Modifications – Changes can be made quickly in 2D before committing to 3D.
- Structured Workflow – Using 2D sketches ensures an organized approach to 3D modeling.
- Efficiency – Many 3D commands rely on 2D sketches for extrusion, revolution, and sweeping.
Setting Up Your 2D Drawing
Before creating a 3D model, start by drafting essential 2D views. Follow these steps:
- Choose the Right Workspace
- In AutoCAD, switch to the Drafting & Annotation workspace for 2D drawings.
- In NanoCAD, use the Model Space in 2D Drafting Mode.
- Set Up Units and Limits
- Use the UNITS command to set appropriate measurement units (millimeters, inches, etc.).
- Define drawing limits using the LIMITS command to fit your workspace.
- Draw the Basic 2D Shapes
- Use LINE, CIRCLE, ARC, POLYLINE, and RECTANGLE to create outlines.
- Ensure all dimensions are correct using DIMENSION tools.
- Use Layers for Organization
- Assign different layers for construction lines, centerlines, and final outlines.
- Use LAYER properties to change colors and line weights.
- Verify and Clean Up Geometry
- Use OVERKILL (AutoCAD) to remove duplicate lines.
- Ensure all shapes are closed polylines for easy extrusion.
Transitioning from 2D to 3D
Once your 2D sketches are ready, follow these steps to convert them into 3D models.
Step 1: Switch to a 3D Workspace
- In AutoCAD, switch to the 3D Modeling workspace.
- In NanoCAD, ensure you’re working in the 3D Modeling Mode.
Step 2: Use Basic 3D Tools
Extrusion Method (For Prismatic Shapes)
- Select the 2D closed polyline.
- Use the EXTRUDE command (EXT in AutoCAD).
- Enter the height of extrusion.
- Press Enter to create a 3D solid.
Revolution Method (For Cylindrical or Symmetric Shapes)
- Draw a 2D profile (e.g., half of a bottle shape).
- Use the REVOLVE command.
- Select the axis of revolution.
- Enter the angle of rotation (usually 360° for full rotation).
Sweep Method (For Pipes & Complex Profiles)
- Draw a 2D path and a 2D profile.
- Use the SWEEP command.
- Select the profile, then the path.
- Press Enter to create the 3D shape.
Loft Method (For Smooth Transitions Between Shapes)
- Draw multiple 2D cross-sections.
- Use the LOFT command.
- Select sections in order.
- Press Enter to generate a smooth transition.
Refining the 3D Model
Step 3: Boolean Operations (Combining or Subtracting Shapes)
- UNION – Combines two or more solids.
- SUBTRACT – Removes one solid from another.
- INTERSECT – Creates a new shape from overlapping sections.
Step 4: Filleting and Chamfering
- Use the FILLET command to round edges.
- Use the CHAMFER command to create beveled edges.
Step 5: View and Render the Model
- Use 3D Orbit to inspect the model from different angles.
- Apply materials using the MATERIALS tool.
- Render with RENDER (AutoCAD) for realistic visualization.
Final Tips for an Efficient Workflow
- Save Regularly – Keep multiple versions of your work.
- Use Viewports – In AutoCAD, set up multiple viewports for different angles.
- Check for Errors – Use the SOLIDEDIT command to repair any issues in 3D solids.
- Practice with Simple Shapes – Start with basic objects before attempting complex models.
Mastering the transition from 2D drafting to 3D modeling in AutoCAD and NanoCAD is a crucial skill for drafters. By creating precise 2D sketches first, you ensure a structured and error-free 3D modeling process. With extrude, revolve, sweep, and loft, transforming 2D shapes into 3D solids becomes significantly easier. Whether you’re an architect, engineer, or product designer, following this workflow will save time and improve accuracy in your CAD projects.
Would you like a deeper dive into a specific part of this process? Let us know in the comments or in the forum!